Re-Siding A Camp Over Continuous Exterior Insulation
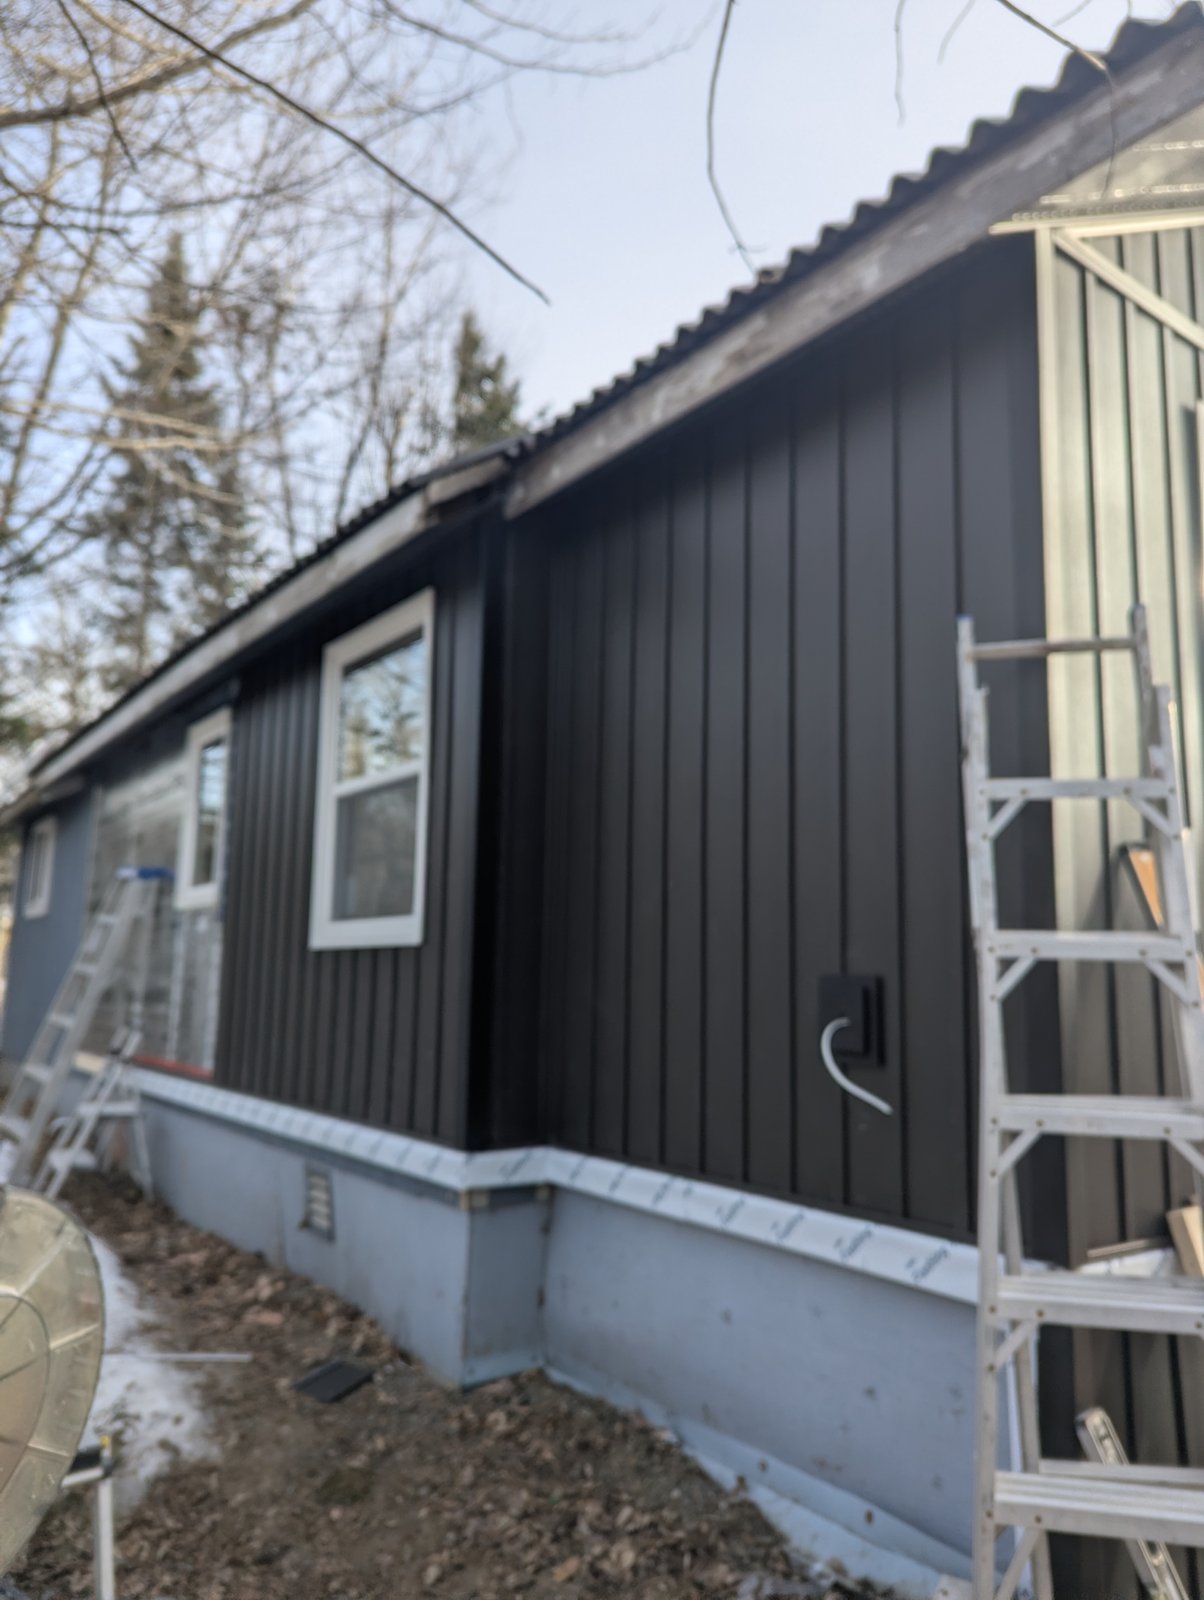
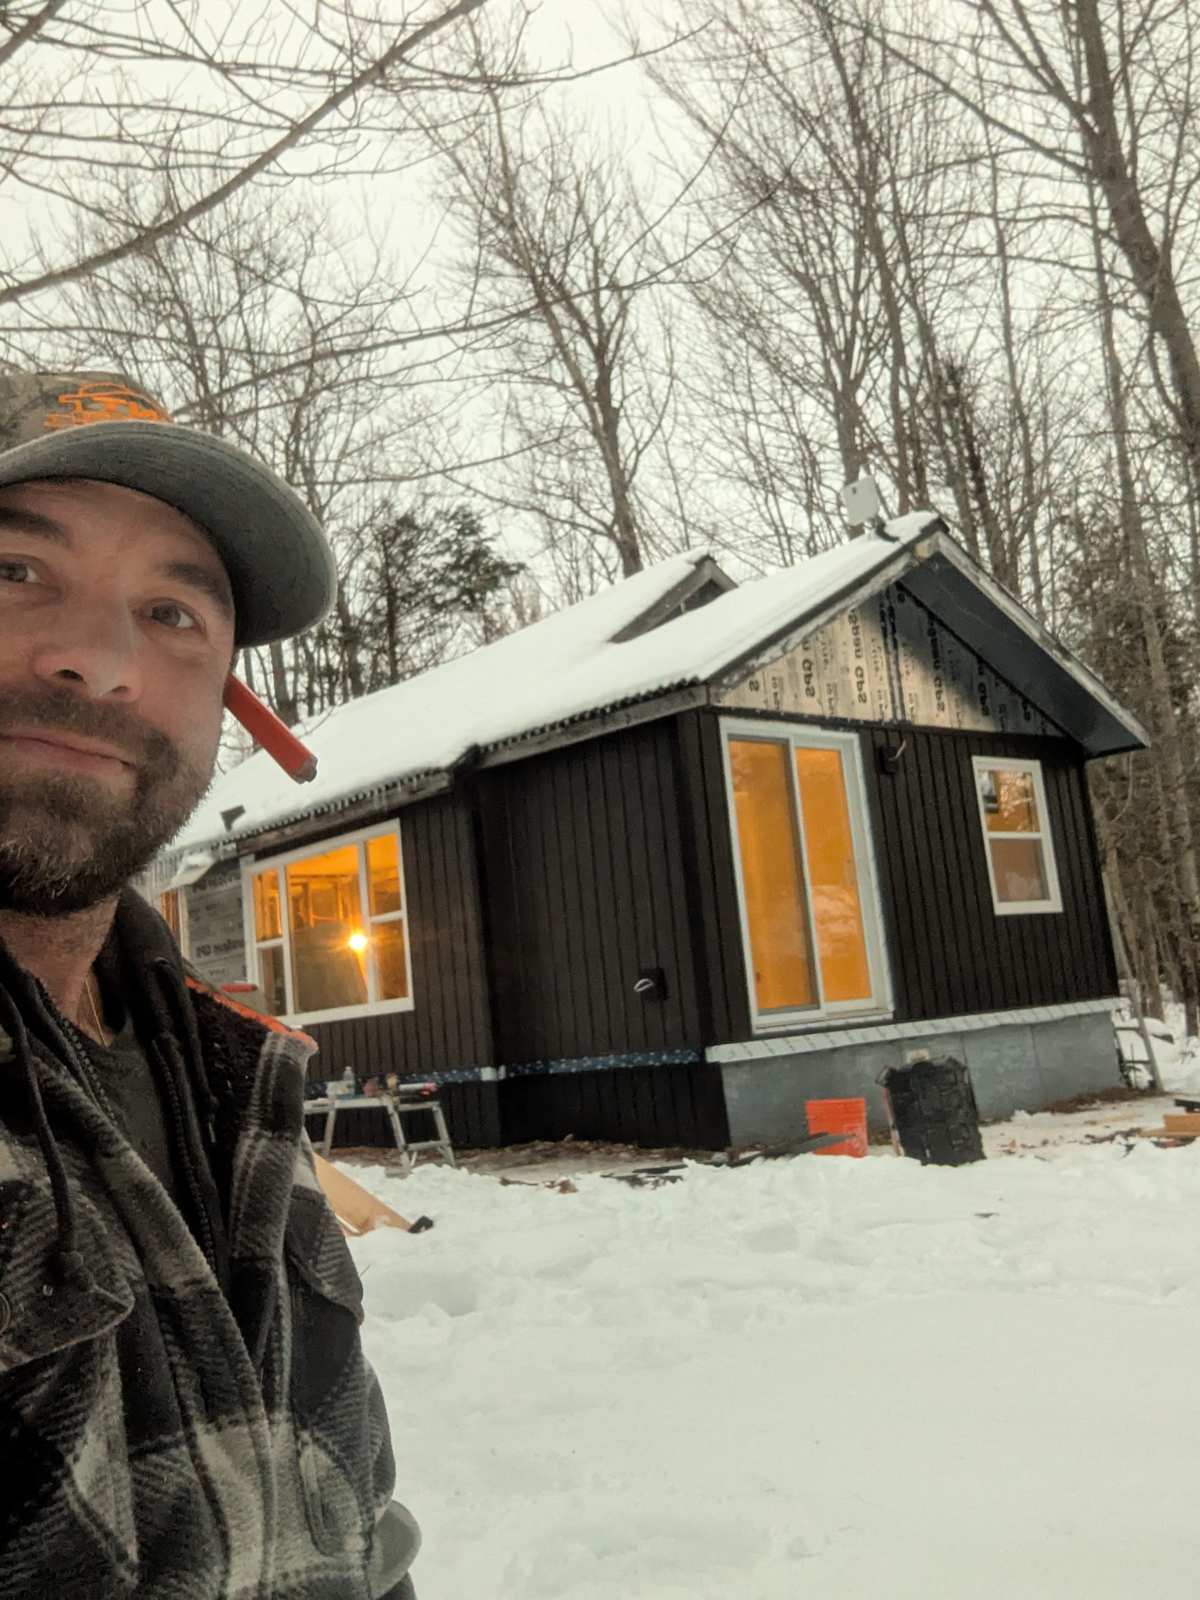
Most re-siding jobs are a skin swap — old panels off, new panels on, same drafty wall underneath. This one added a full layer of continuous rigid foam over the sheathing before a single piece of siding went up, which is the difference between a building that looks better and a building that is actually warmer. Stripped in early December, wrapped, insulated, and sided through a New Brunswick winter, finished on Christmas Eve.
What the job included
- Existing weathered siding stripped to sheathing
- Sheathing repairs where needed
- Windows replaced and openings reframed on this build
- DuPont Tyvek HomeWrap air and moisture barrier
- Continuous R5 rigid foam insulation, seams taped
- Black vertical board-and-batten steel siding
- New window trim, corner details and base flashing
This was a siding & stone veneer project. If you are planning something similar, that page covers how we approach the work and what to expect.
How it came together
Before
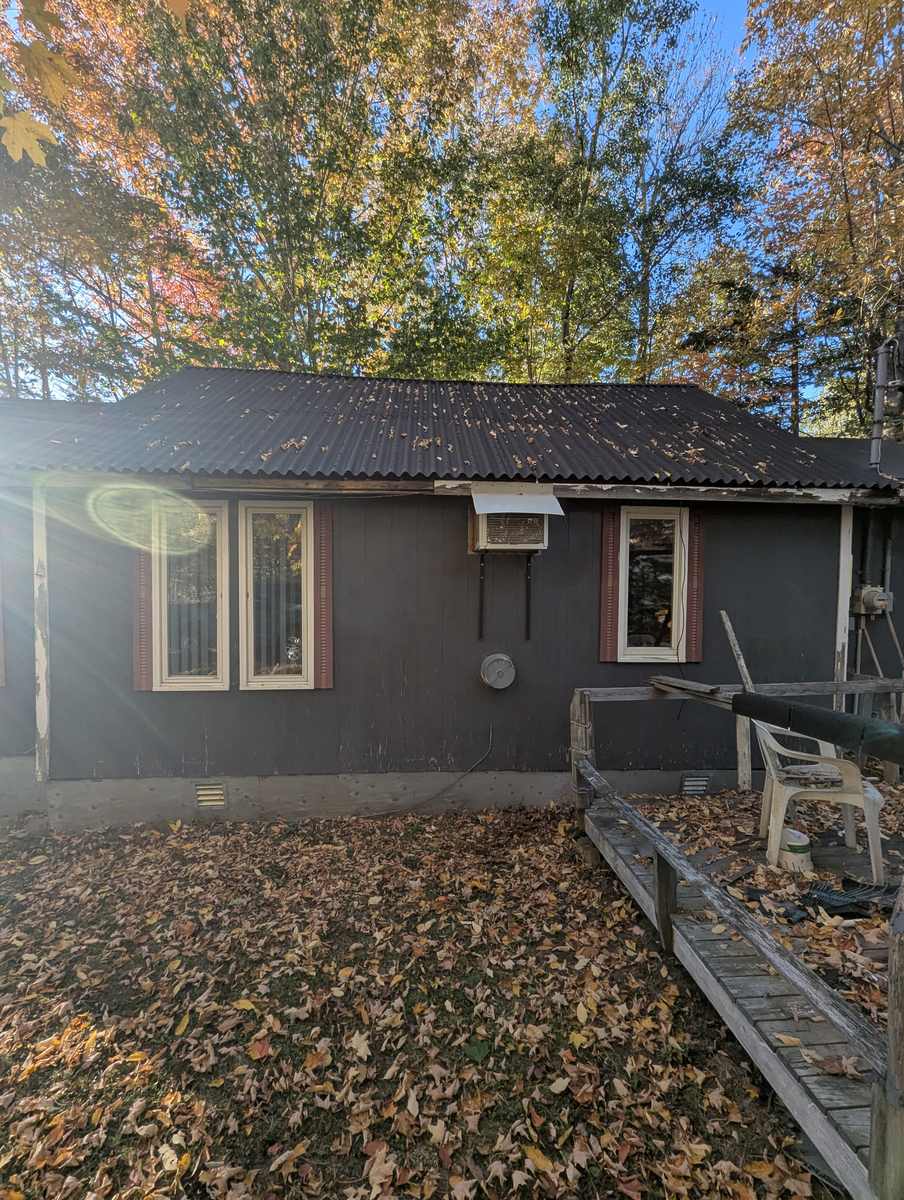
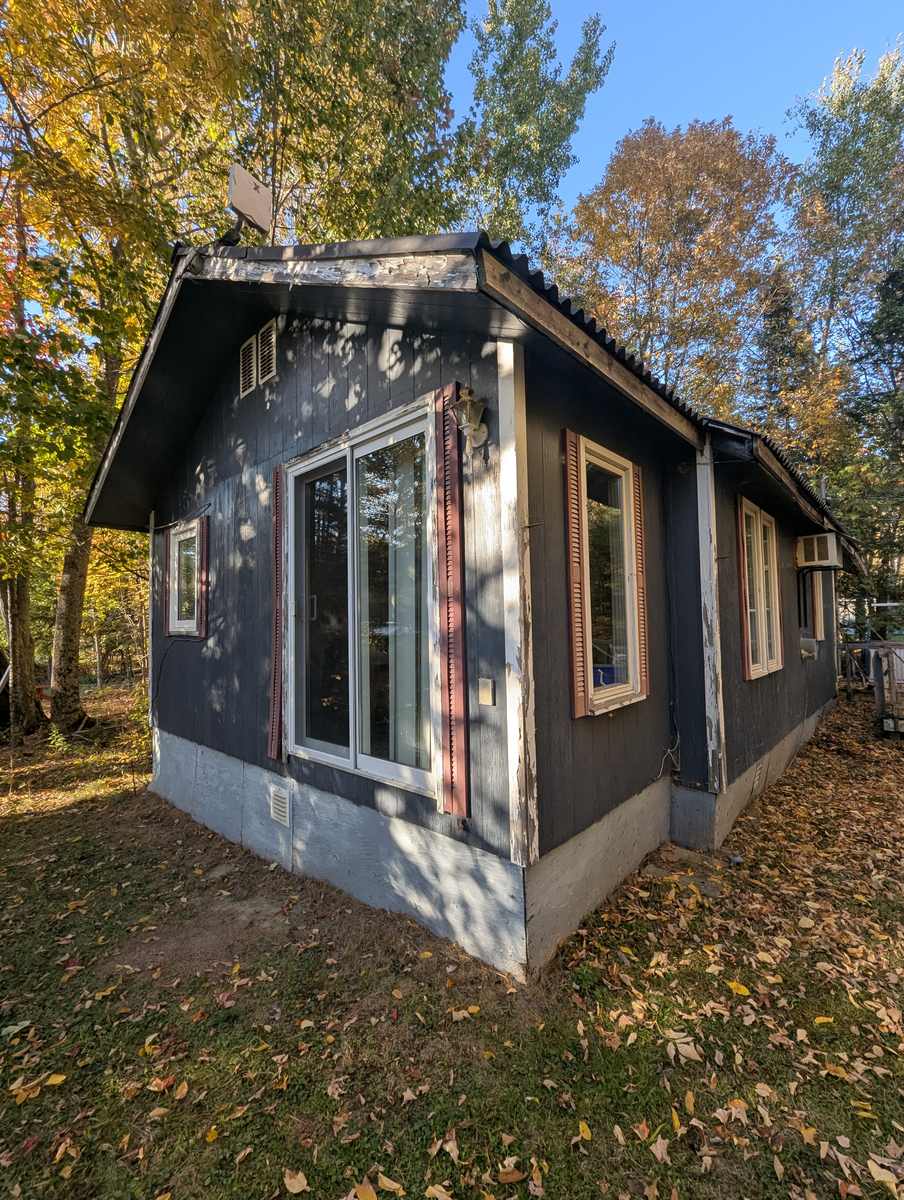
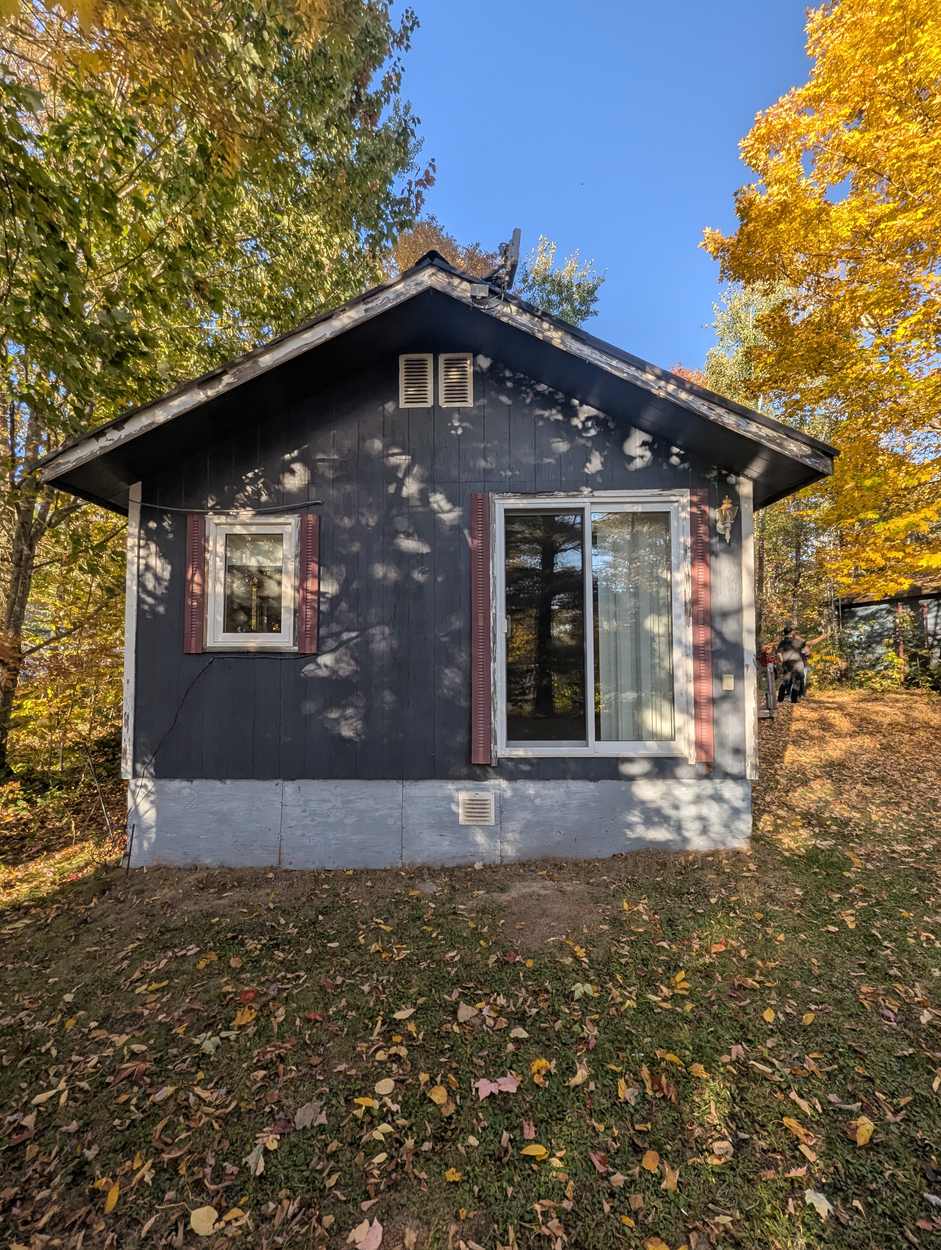
Dark stained board siding that had given everything it had — chalked, split at the edges, and losing its seal around the windows. The bones of the building were sound, which is exactly when a re-side is worth doing properly rather than patching another season out of it.
Strip and wrap
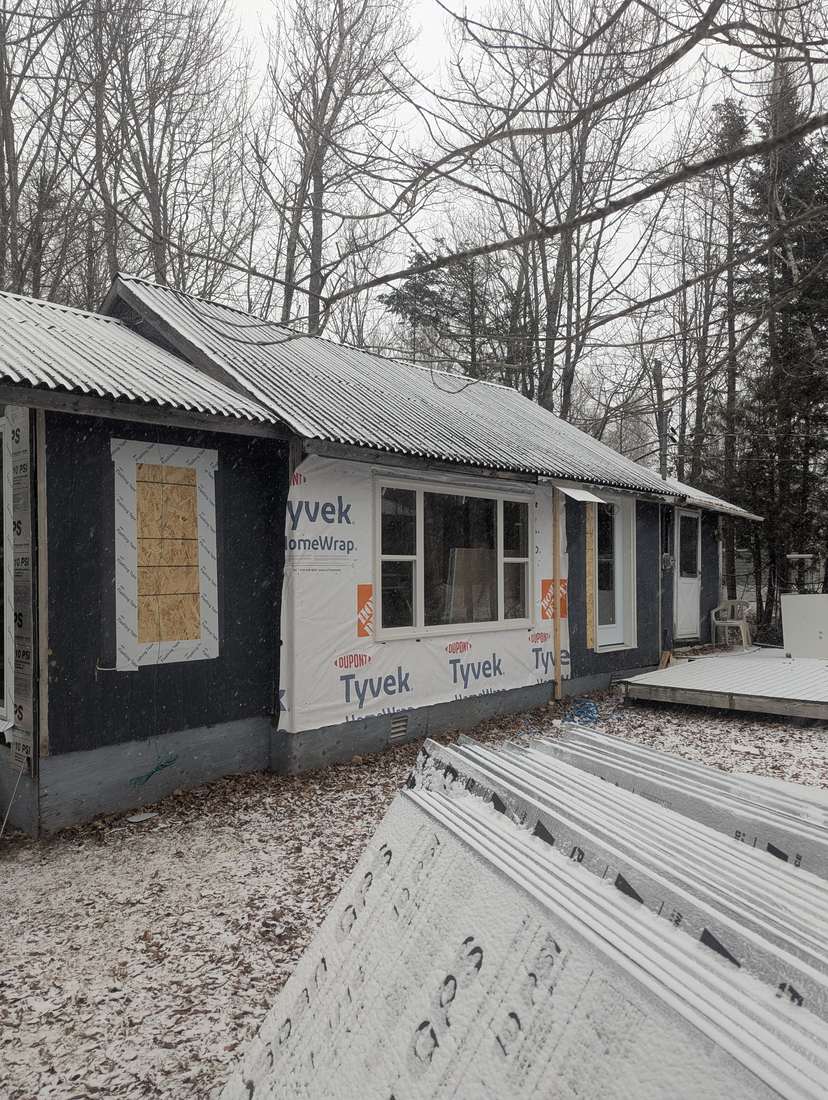
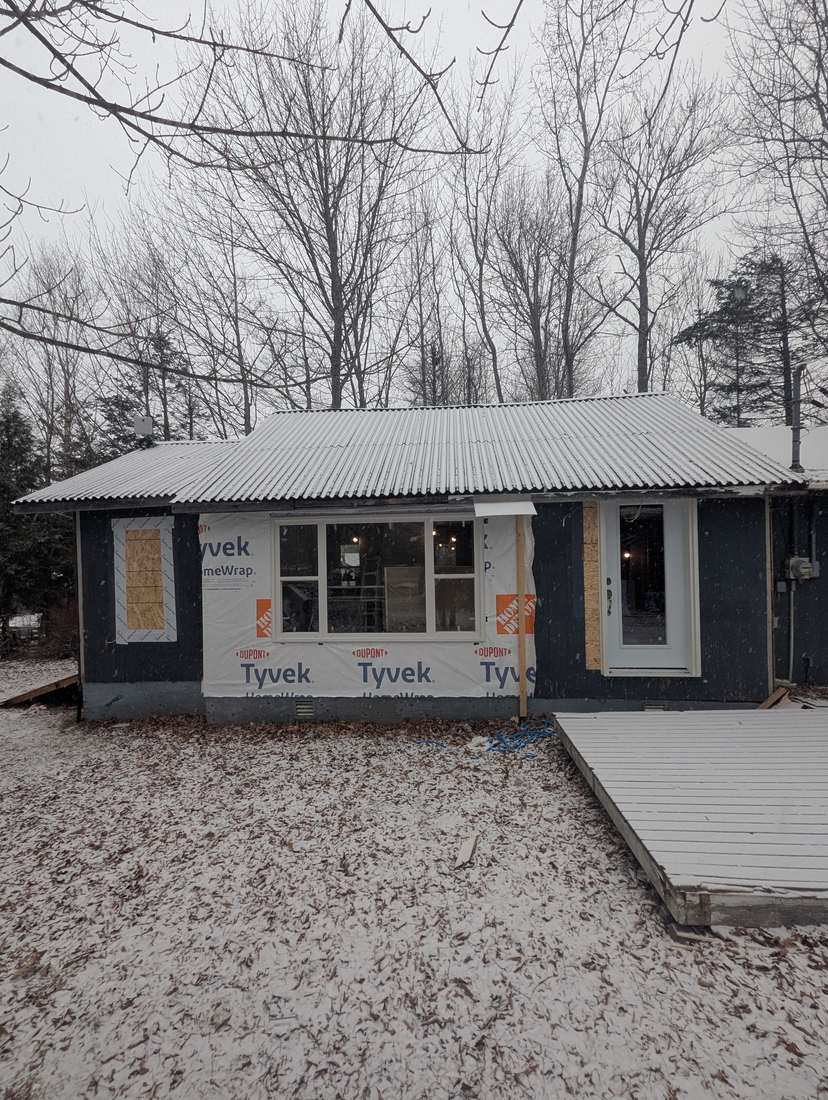
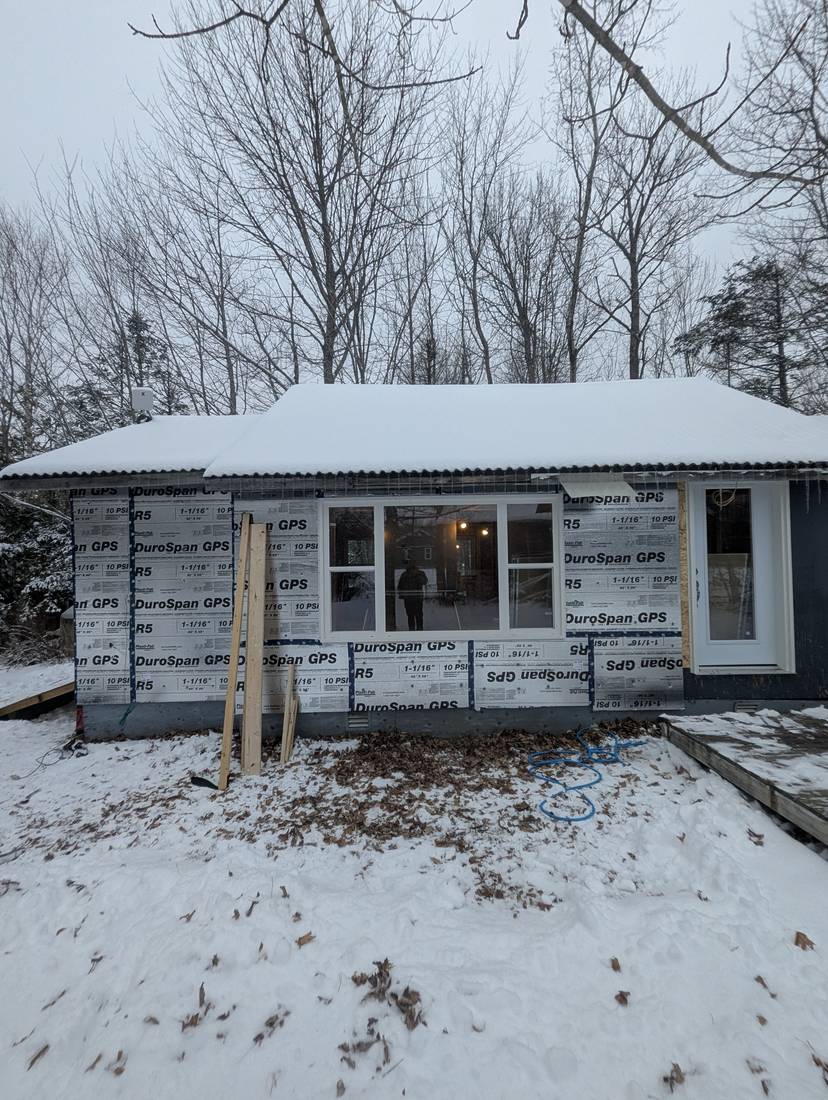
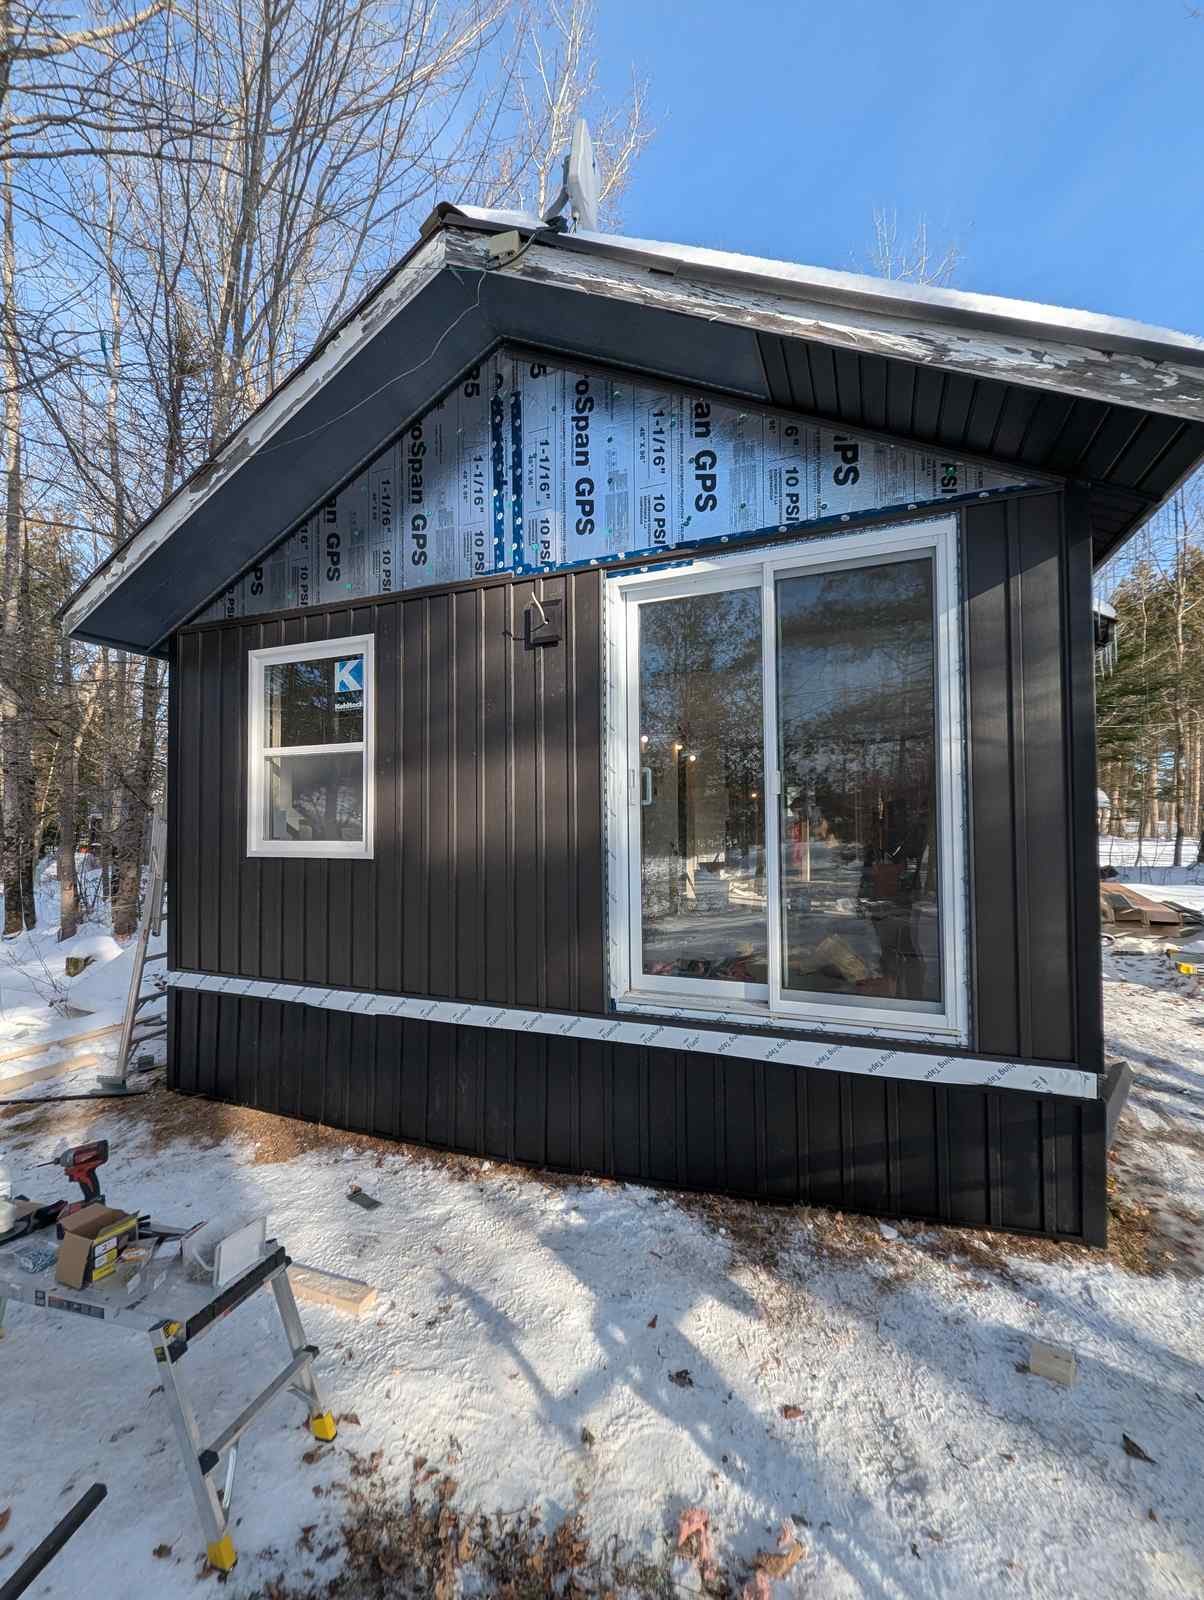
Old siding came off down to sheathing and damaged spots were patched. With the walls open, the windows were replaced and their openings reframed — the right moment to do it, since the wrap and flashing can then be detailed around new openings instead of worked around old ones. Then Tyvek HomeWrap went on as the air and moisture barrier. Getting the wrap right — lapped in the correct order, sealed around openings — is what keeps wind-driven rain out of a wall for the next thirty years.
Continuous exterior insulation
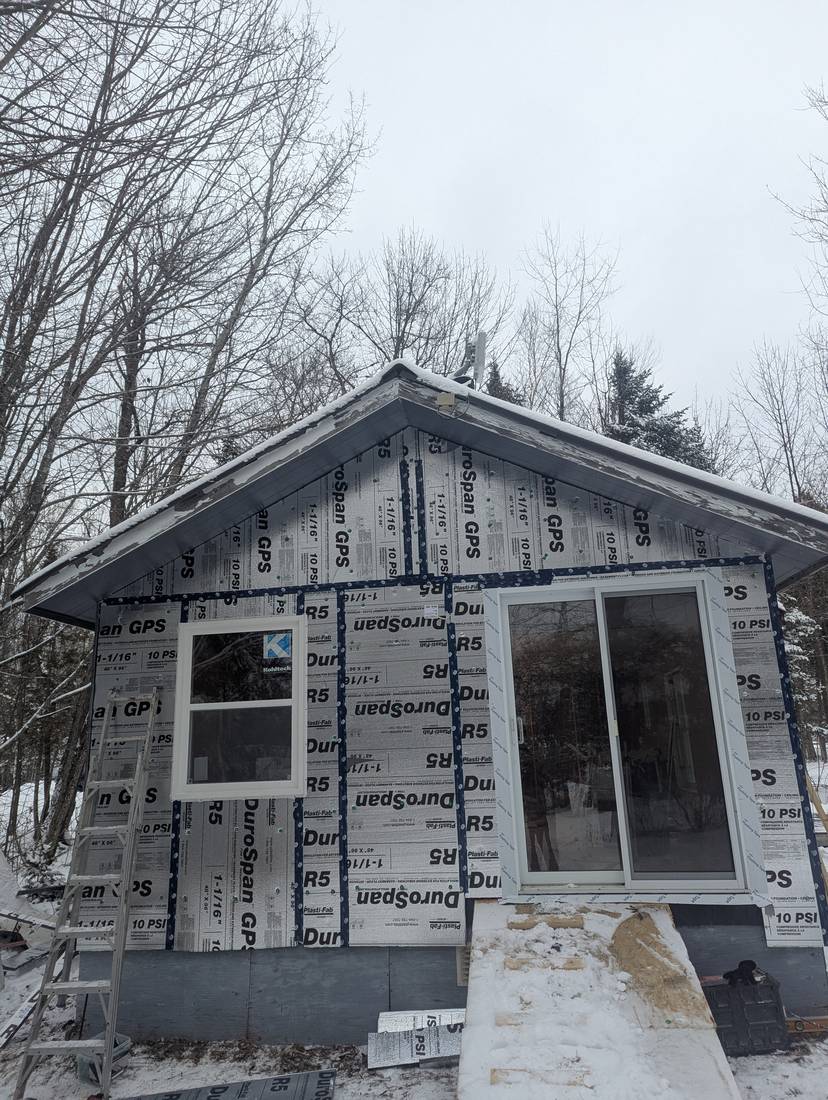
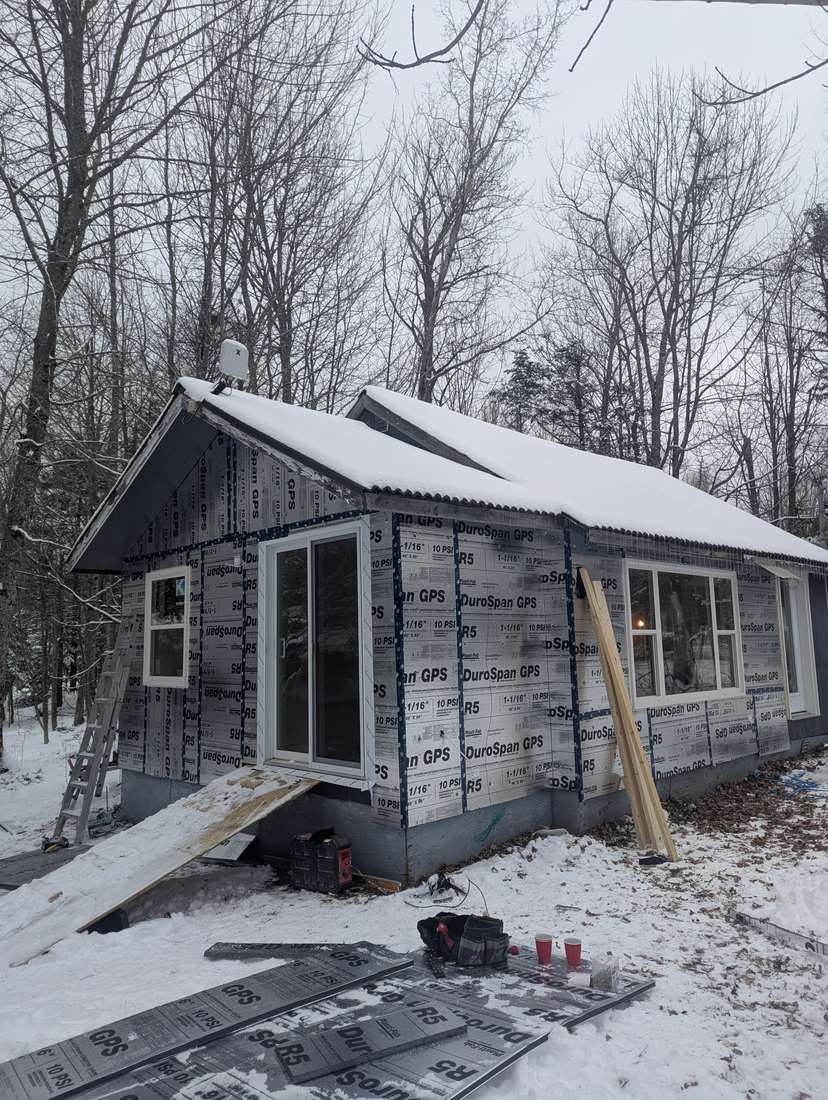
This is the step most re-siding quotes leave out. A full layer of R5 rigid foam over the entire exterior, seams taped, breaking the thermal bridge at every stud. Insulation between studs still loses heat through the framing itself; a continuous layer outside the sheathing does not. The wall performs better in January and the siding has a flat, consistent plane to land on.
Siding installation
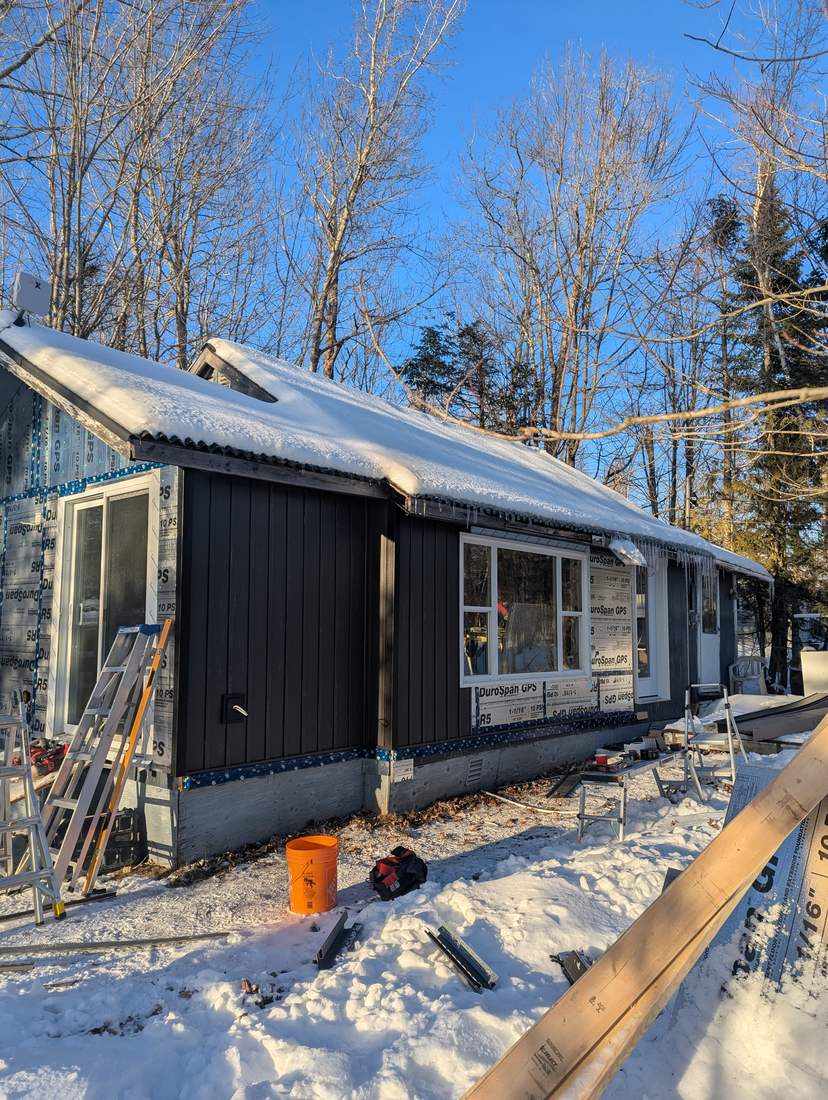
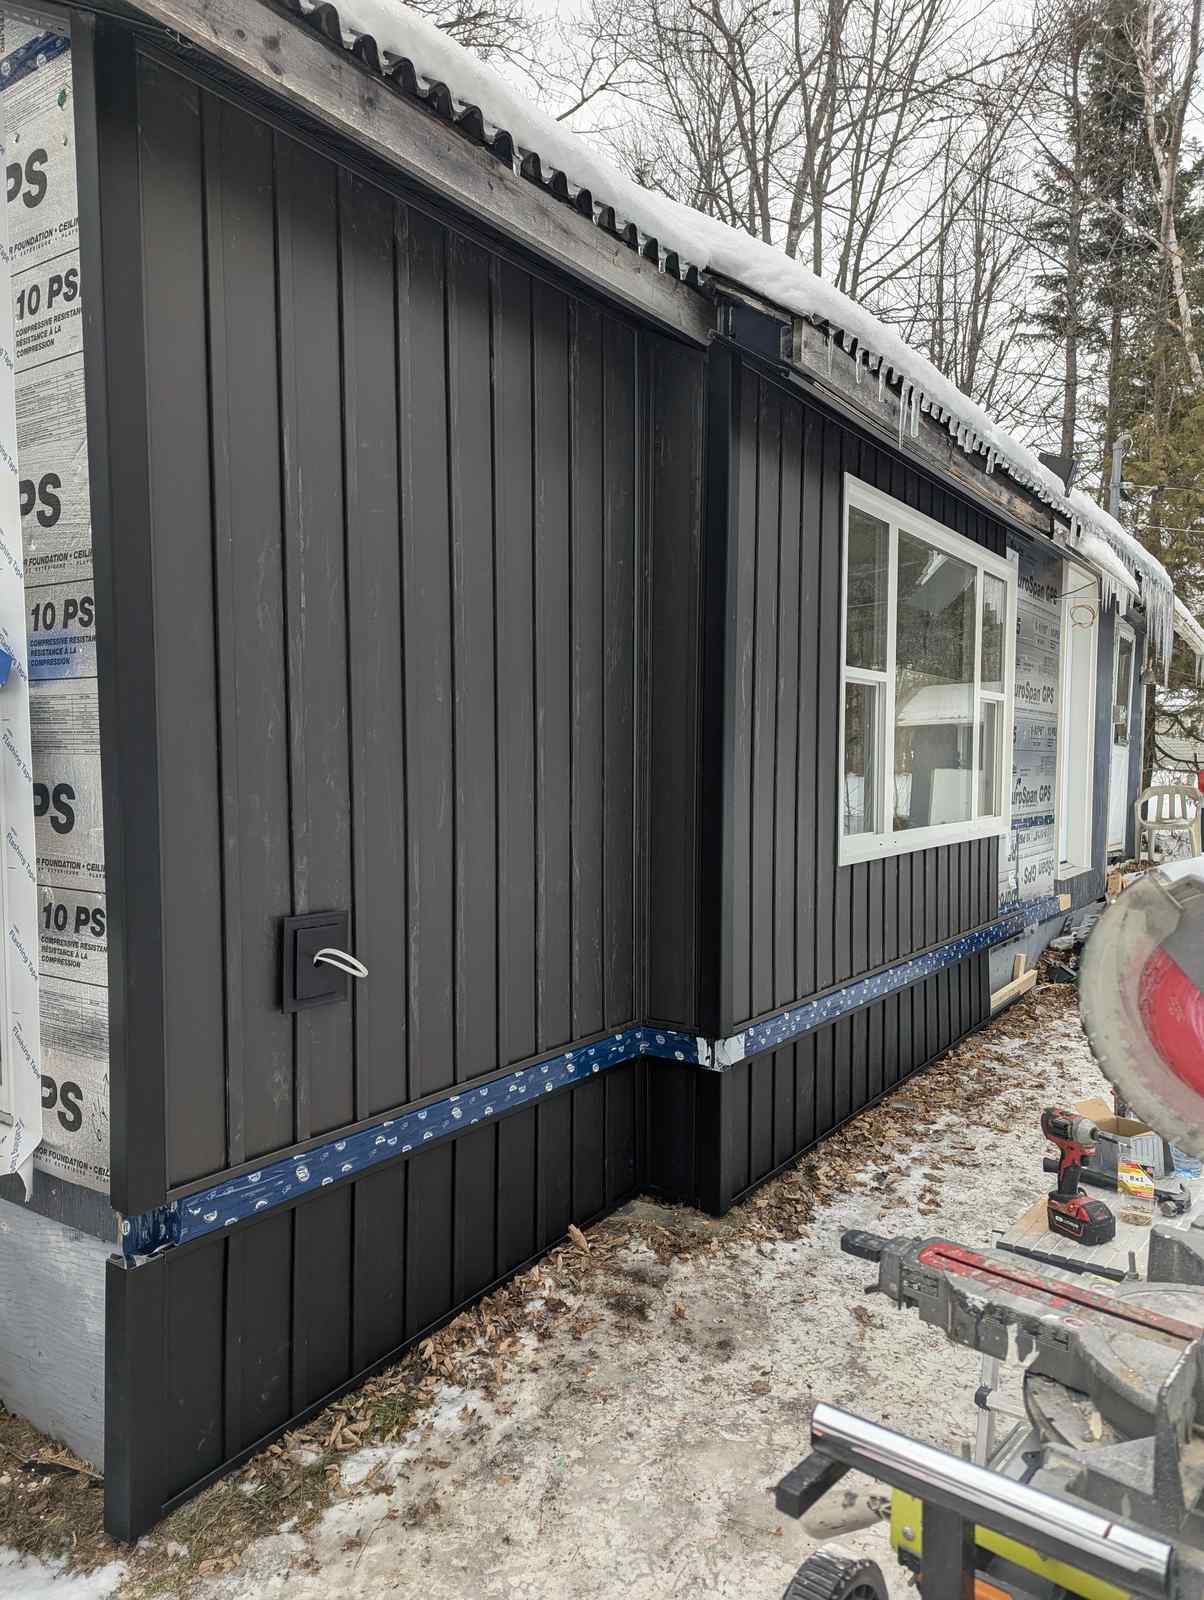
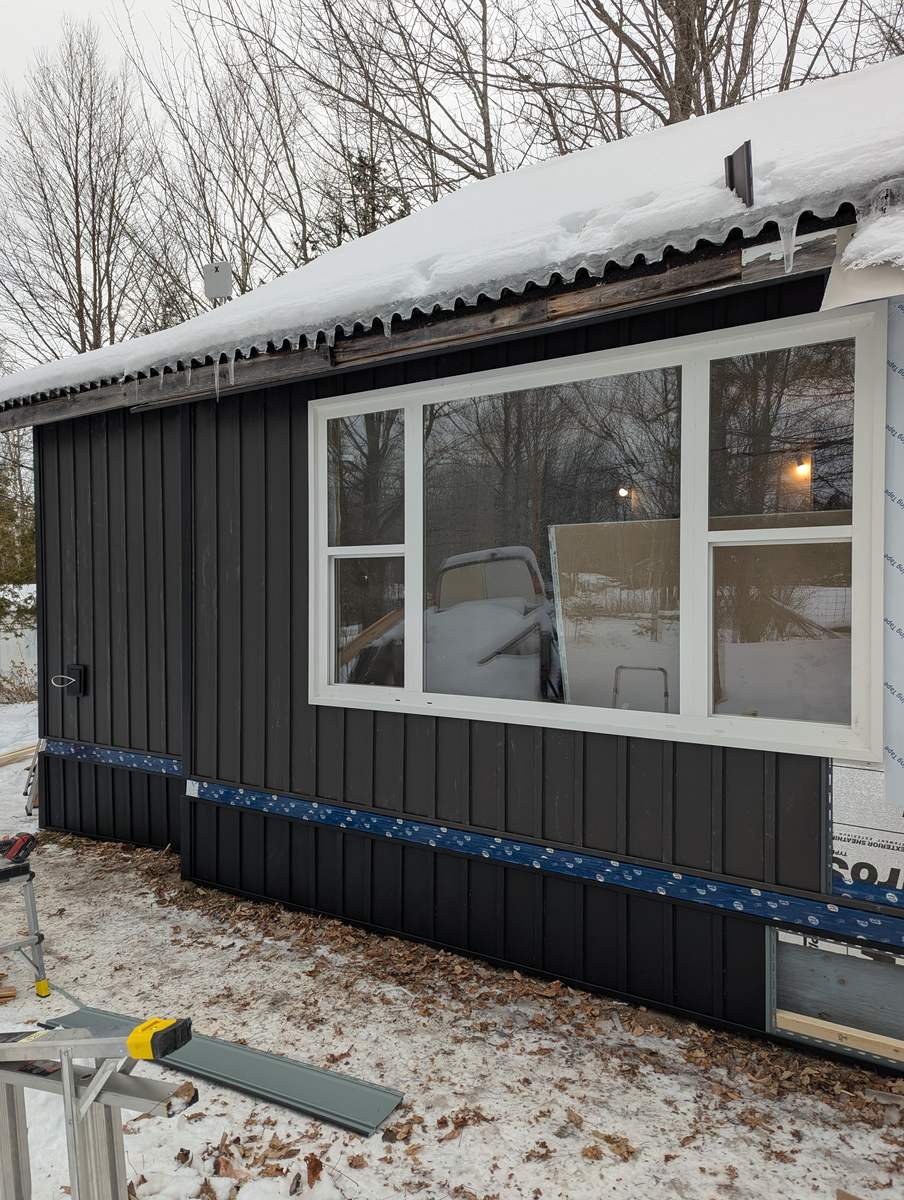
Black vertical board-and-batten steel panels installed over the foam, with base flashing, corner details and window trim worked out as the panels went up rather than patched in afterward. Vertical siding is less forgiving than horizontal — every panel has to be plumb or the whole wall reads crooked.
Finished
Clean black vertical siding, crisp white window trim, and flashing detailed at the foundation. The same building, with a warmer wall assembly behind an exterior that now looks intentional instead of tired.
Our Full Project Work
Real projects from homes across Greater Moncton. Click any photo to look closer.
Planning something like this?
Every project here started with one conversation. No pressure, no obligation.
Get a Free Quote